
Wallpapers have become a more popular choice for homeowners and businesses looking to make a bold statement with their interiors. Whether it’s a stunning landscape, a vibrant cityscape, or custom artwork, wall murals can instantly transform any space, turning an ordinary wall into a captivating focal point. However, to achieve that flawless look, it’s crucial to know how to install wall murals correctly. In this blog, we’ll walk you through each step of the process, offering tips and best practices to ensure a seamless finish.
Step 1: Prepare the Wall Surface
Before starting the installation process, the most important step is to prepare the wall properly. A smooth, clean surface is essential for the mural to adhere effectively and for a seamless finish. If your wall is already flat, you’re in luck. A flat wall surface is ideal for applying large wall murals without complications.
However, if you’re working with a textured surface, you will need a smooth wall texture to avoid bubbles and wrinkles. For a seamless finish, it is important to know how to smooth a textured wall. Use joint compound or wall-to-wall plastering to even out rough areas. Spread the compound with a trowel to fill in the textured surface, then use sandpaper to smooth the area.
Clean the wall with a damp cloth or sponge to remove dirt, grease, and grime. Any imperfections or particles can prevent the adhesive from sticking properly. Ensure the wall is completely dry before applying the mural.
Step 2: Measure and Plan
Accurate measurements are essential when installing custom wallpapers for walls, especially if you’re using extra-large designs like forest wall murals or jungle mural wallpaper. Here’s how to do it:
- Measure the Wall: Use a tape measure to record the height and width of your wall. Double-check these measurements to ensure precision. For instance, if you are installing a wall mural for bedroom, measure the height from the floor to the ceiling and the width from one corner to the other, ensuring the tape measure is straight and level for accurate results.
- Plan Your Layout: If your wall mural is comprised of multiple panels, it’s essential to lay them out on the floor first. It ensures that the design aligns correctly before applying it to the wall. Many large wall murals come with numbered panels to help with alignment.
- Mark the Wall: Mark the starting point with a level and pencil, drawing a straight line where the first panel will go. This will help keep your mural perfectly straight as you apply it.
Pro Tip: If you’ve chosen forest mural wallpaper, consider adding botanical prints or nature-inspired wall arts with it. It will enhance the overall theme and colors.
Step 3: Installing the Wall Mural
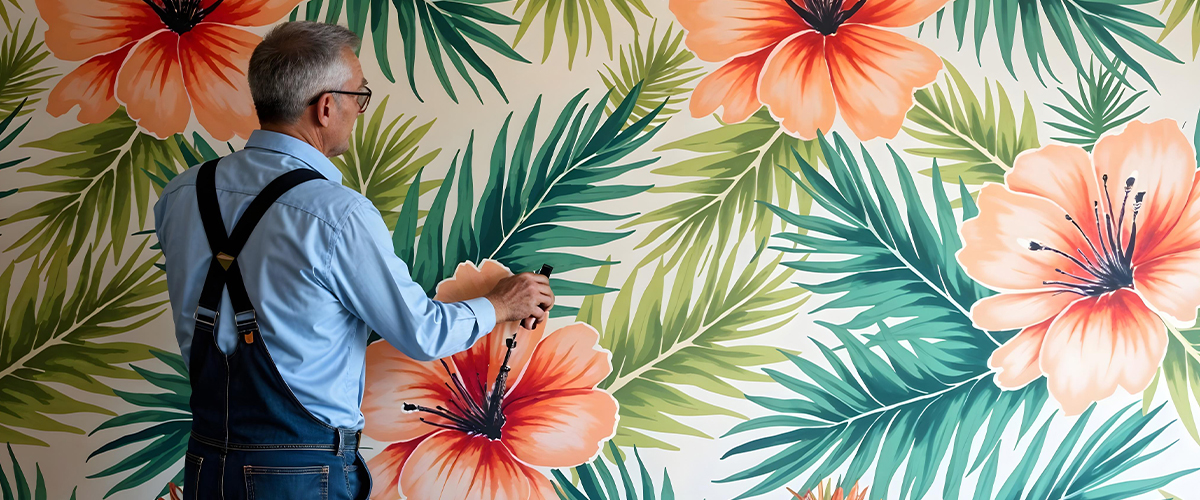
Now that your wall is smooth and your measurements are in place, it’s time to begin applying the wall mural.
- Peel and Stick Murals: Many modern custom wall murals are peel-and-stick, meaning they come with a self-adhesive backing. Start by peeling the backing from the top of the mural, exposing a small section of the adhesive. Align the mural with your pencil marks and press it onto the wall, working from the top down. Use a plastic smoothing tool to remove any bubbles as you go, pressing firmly to ensure proper adhesion.
- Paste-Required Murals: For murals that require wallpaper paste, apply the paste to the back of the mural or directly onto the wall. Then, align the top of the mural with your marked line and gently smooth it onto the wall using a smoothing tool or wallpaper brush.
Step 4: Trim Excess Material
After applying the mural, you may have excess material around the edges of the wall or around windows and doors. Use a sharp utility knife or a razor blade to trim it, once the mural is securely in place and smoothed. Hold the blade at a slight angle and cut along the edges of the wall for a clean, precise finish.
Once the mural is perfectly trimmed and in place, consider adding complementary decor to elevate the room’s ambiance. For example, a tapestry can add texture and visual interest, especially in bedrooms or living spaces. By choosing a design that complements the mural without overwhelming it, you can create a cohesive and inviting atmosphere.
Step 5: Finishing Touches
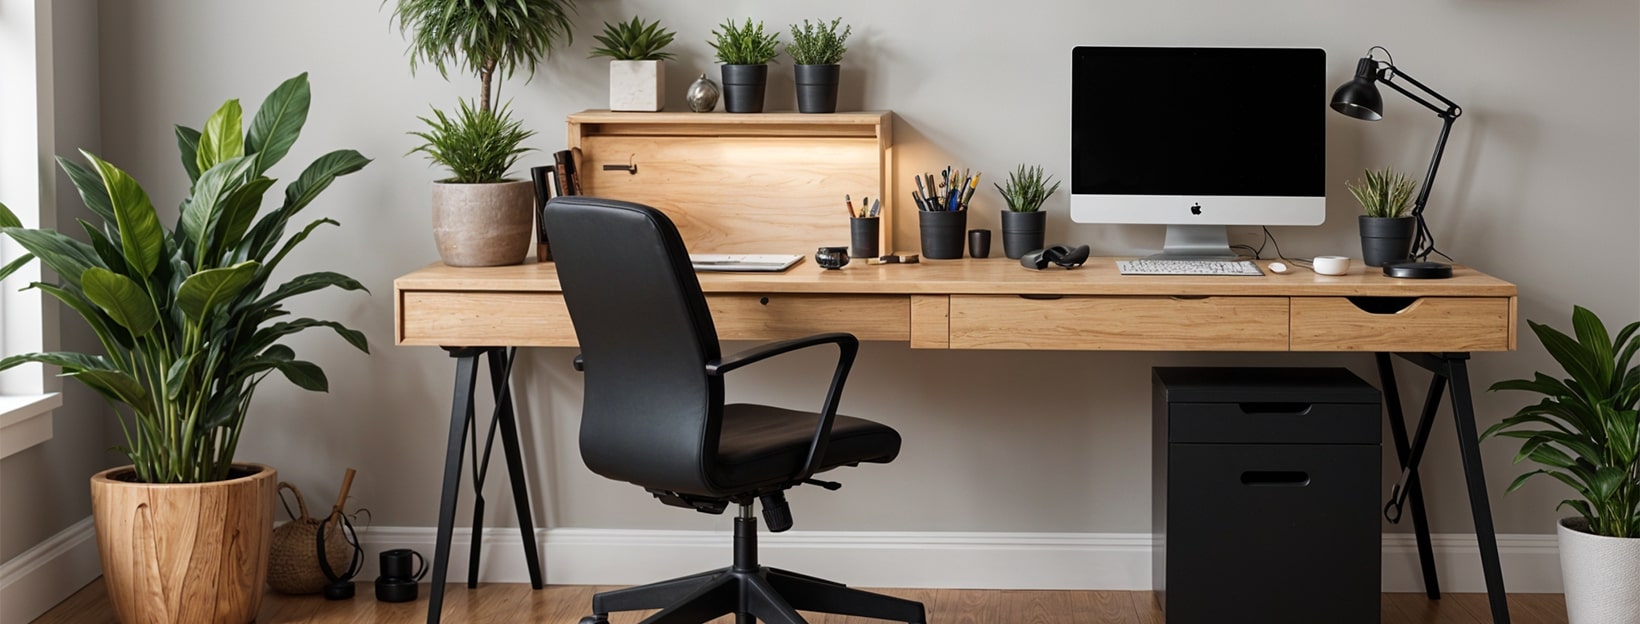
Adding complementary decor elements can bring your mural to life and create a cohesive design. Consider incorporating the following items in your decor:
- Furniture: Choose furniture that complements the theme or color palette of your mural. Sleek, minimalist pieces work well with bold murals, while more intricate or rustic furniture can suit nature or vintage-themed murals.
- Throw Pillows: Choose throw pillows in colors or patterns that echo the tones in your mural. This will tie together the mural with your furniture, making the room feel unified and visually appealing.
- Curtains: Select curtains that either complement the mural’s design or provide a subtle contrast. Opt for solid colors or soft patterns that won’t overpower the mural but will enhance the overall mood of the room.
- Lighting: Use ambient or accent lighting to highlight the mural and add depth to the room. Floor lamps, sconces, or string lights can enhance the mural’s colors and make it a focal point.
- Plants: Incorporate indoor plants to add natural texture and color. The greenery can enhance a nature-themed mural or soften the lines of a more abstract or geometric design.
- Rugs: A well-chosen rug can ground the space and complement the mural by introducing texture and warmth. Look for rugs that pick up accent colors from the mural or feature patterns that align with the room’s theme.
Conclusion
Applying wall murals can seem intimidating at first, but with careful preparation, attention to detail, and the right tools, you can achieve a smooth, seamless finish that enhances the beauty of your space. By following these steps you can transform any room into a visually stunning environment. Don’t forget to complete the look with decorative elements like a tapestry or complementing doormats. The right combination of murals and decor can take your space from ordinary to extraordinary, making your home truly unique.


No Comments