
Are you ready to bring new life to your living space, adding a touch of your personality to every wall? The key lies in the transformative power of custom wallpaper. It’s time to dive into the world of wallpaper installation and discover how a bit of creativity can transform your space.
In this guide, we’re not throwing around complicated terms or expecting you to decipher confusing instructions. Nope, it’s all about making the process of how to install wallpaper a breeze. From keeping that fresh to just-installed look, we’ll walk through each step of the process, making the seemingly daunting task of wallpaper installation an enjoyable and creative endeavor.
Discover the following art of professional wallpaper installation and maintenance. Your walls await a masterpiece!
Step 1: Choosing the Right Wallpaper
Before you jump into the world of easy wallpaper installation, take a moment to wander through the range of designs available. Think about your personal style and the vibe you want your space to express.
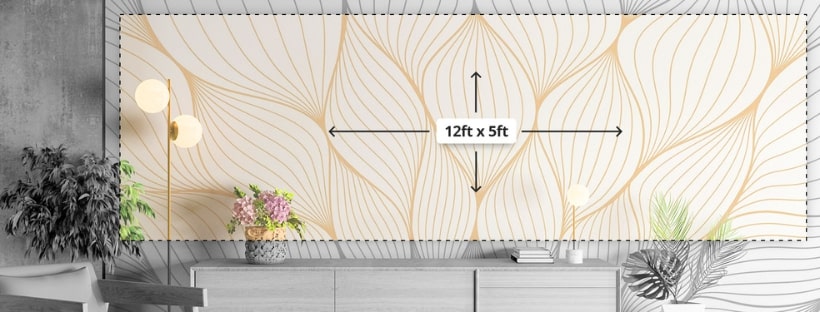
Whether you’re drawn to vibrant patterns that pop or prefer the understated elegance of subtle textures, choosing the right custom wallpaper is your first step in setting the perfect tone for your entire room.
It’s like curating the opening chapter of your space’s story – make it uniquely yours!
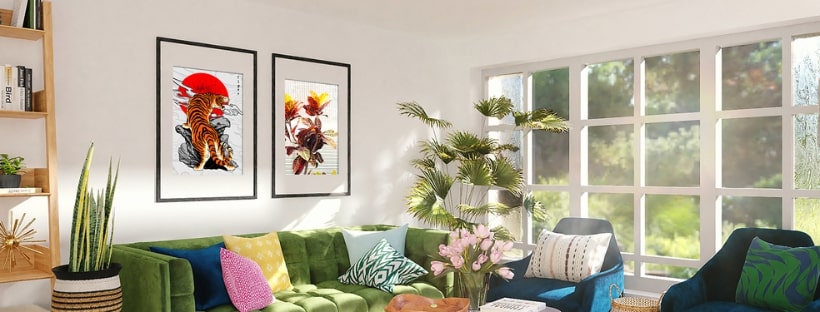
Also, explore the world of custom wall murals to upgrade your space with personalized and captivating designs.
Step 2: Preparing Your Wall
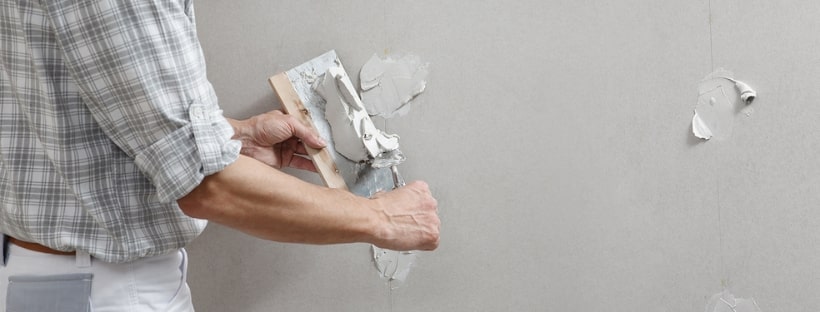
Before you start sticking your personalized wall mural with that fabulous custom design, here’s the golden rule: make sure your wall is smooth. Now, how to prepare wall for wallpaper as a silky-smooth canvas?
- Addressing Cracks and Holes: If you spot any cracks or holes, fill them using a high-quality filler. This guarantees your wall not only feels smooth but is also devoid of imperfections that might show through.
- Smoothing Imperfections: Utilize fine-grit sandpaper to gently go over your wall. This helps level out any bumps or rough spots, leaving you with a velvety surface ready for wallpaper magic.
- Thorough Cleaning: Dust, dirt, and grease are adversaries to a smooth wallpaper installation. Break out your preferred cleaning supplies and give your wall a thorough scrub-down. A clean canvas is a happy canvas!
- Priming Time: Consider applying a coat of primer. Not only does this improve wallpaper adhesion, but it also establishes a uniform surface, ensuring your wallpaper goes on seamlessly.
Remember, a smoother start leads to a more seamless finish. Your walls will express gratitude for the additional love and care!
Step 3: Gather Your Tools
Prepare for a successful wallpaper installation with this toolkit and discover how each tool plays its superhero role:
- Measuring Tape: Ensure precise dimensions before cutting.
- Level: Prevent crooked wallpaper; hang it straight and true.
- Utility Knife: Cut rolls cleanly, especially in intricate corners.
- Adhesive or Wallpaper Paste: Pick high-quality glue for a secure bond.
- Sponge: Wipe away excess adhesive for a tidy process.
- Pencil and Marking Tools: Mark accurately for precise placement.
- Step Ladder: Reach high spots safely and with ease.
- Drop Cloth: Protect floors from stray adhesive or trimmings.
With these tools, ensure frustration-free wallpaper installation. Don’t forget to explore the diverse world of wall art to boost your living space aesthetics.
Step 4: Measure and Cut
- Measure Wall Height: Begin by measuring the height of your wall. To ensure a precise fit, add a few extra inches to account for trimming. This step is crucial for achieving a clean and polished look once the personalized wallpaper for wall is installed.
- Roll Out and Mark: Unroll your chosen wallpaper onto a flat surface. Measure the required length for your wall and mark it accurately. These markings will serve as your guide when cutting the wallpaper to fit your specific dimensions.
- Precision Cutting: Employ a straight edge, ensuring a clean and straight line for your wallpaper. Use a sharp utility knife to cut along the marked lines with precision. This step is vital to achieving seamless strips that align seamlessly during the installation process.
By following these detailed steps, you’ll master the art of wallpaper cutting, ensuring a professional and flawless finish for your wall decor project.
Step 5: Peel and Stick Wallpaper
Carefully follow these instructions to grasp how to apply peel and stick wallpaper:
- Starting Point: Identify a corner or reference point on the wall.
- Peel Back: Begin by gradually peeling the backing from the top.
- Expose Adhesive: Reveal the adhesive side with controlled exposure.
- Align and Smooth: Align top edge precisely and smoothly apply, eliminating air bubbles.
- Gradual Unveiling: Continue peeling, pressing and smoothing the wallpaper.
- Precision Sections: Work in manageable sections for a precise outcome.
Note that peel and stick wallpaper are the easiest wallpaper to install.
Step 6: Align Patterns & Trim Excess
When working with patterned wallpaper, precision is key. Dedicate time to aligning each strip meticulously for a professional and cohesive look, enhancing the overall aesthetic quality of your installation. Once a strip is applied, use a utility knife to trim any excess at the top and bottom. Ensure precision for a neat finish.
Also, remember to discover the artistic possibilities with custom poster print, adding a personalized touch to your space.
Step 7: Corners, Obstacles, and Final Touch
When handling corners, trim the wallpaper at a 45-degree angle, and slightly overlap the strips for a smooth finish. Navigate around obstacles, such as outlets, with precision. After placing all the strips, perform a final smoothing process across the entire wall to ensure any remaining bubbles or wrinkles are eliminated for a flawless outcome.
Step 8: Admire Your Transformation
Step back and appreciate the transformation of your space after creating your own wallpaper. This cool solution gives a quick and stylish facelift, skipping the mess of traditional paint. Enjoy the instant enhancement, appreciating the seamless and chic touch it brings to your surroundings.
Discover the artistic world of home decor with our exquisite collection of custom wall tapestries.
Conclusion
Congratulations on mastering easy to put up wallpaper guide! Your space is poised to reflect your unique style, enduring for years with proper maintenance. Now armed with knowledge in wallpaper installation and maintenance, commence your decorating journey with confidence. Your walls serve as a canvas, and the masterpiece is yours to create. Happy decorating!
No Comments